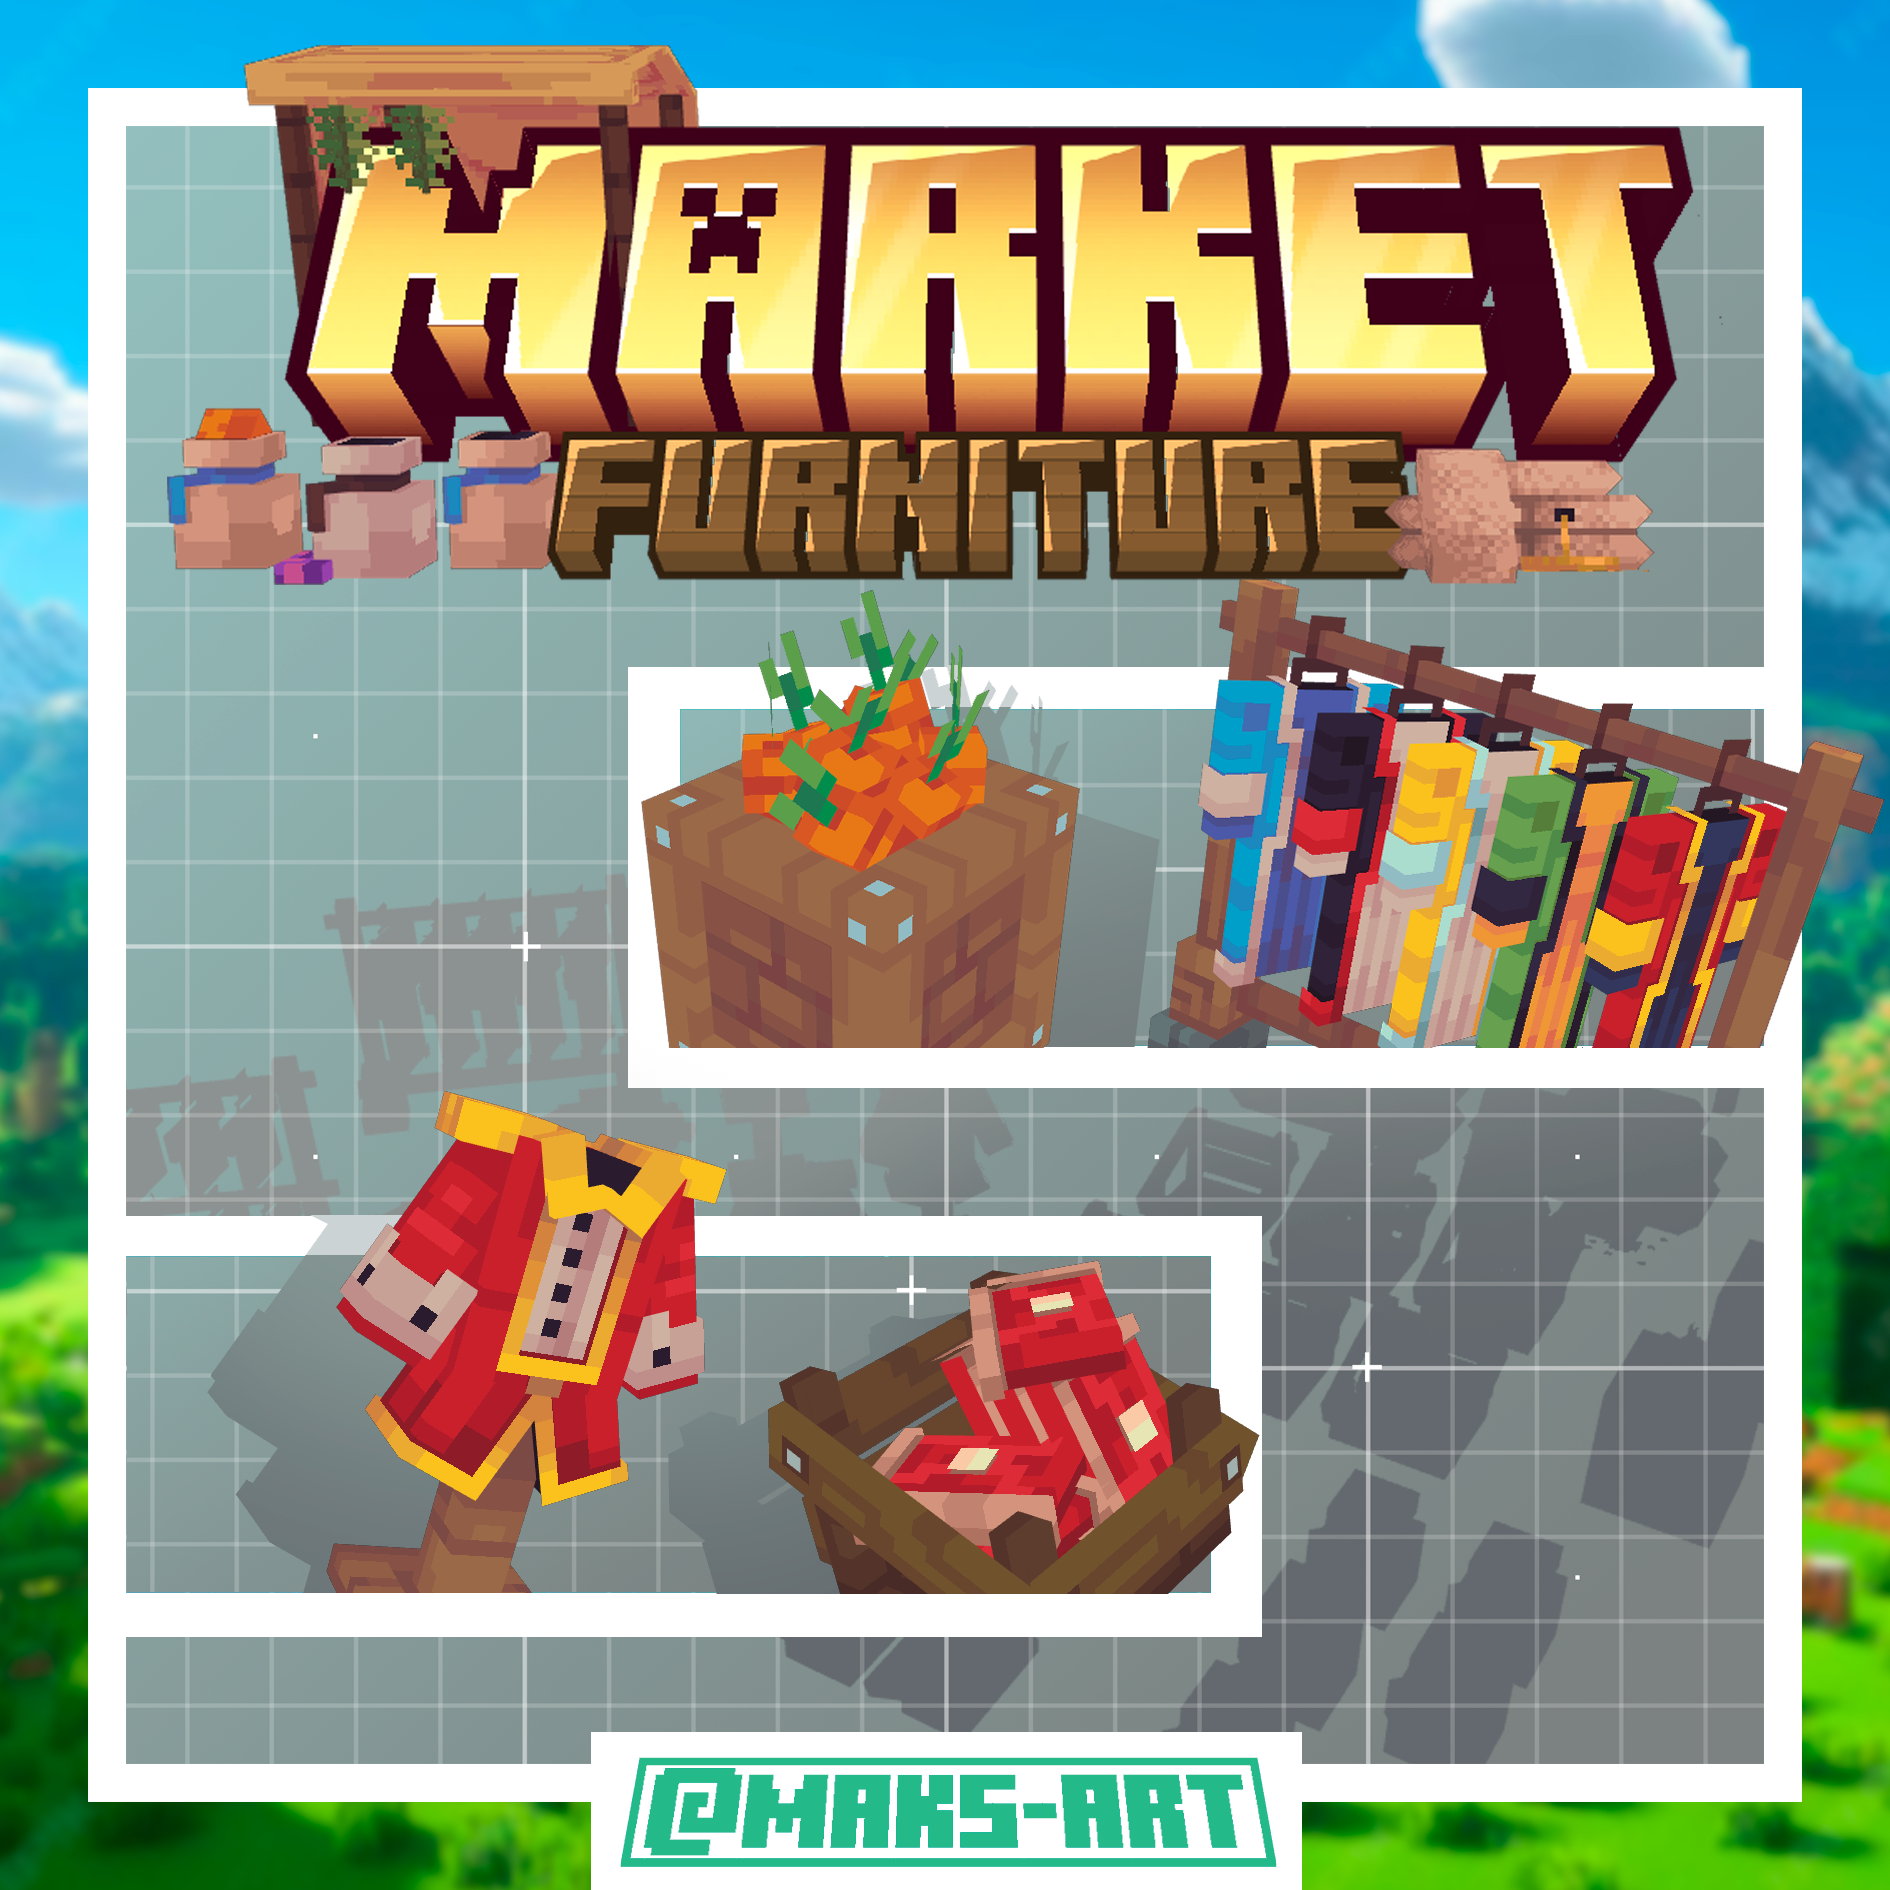
Fantasy Market | Furniture

Fantasy Market | Furniture
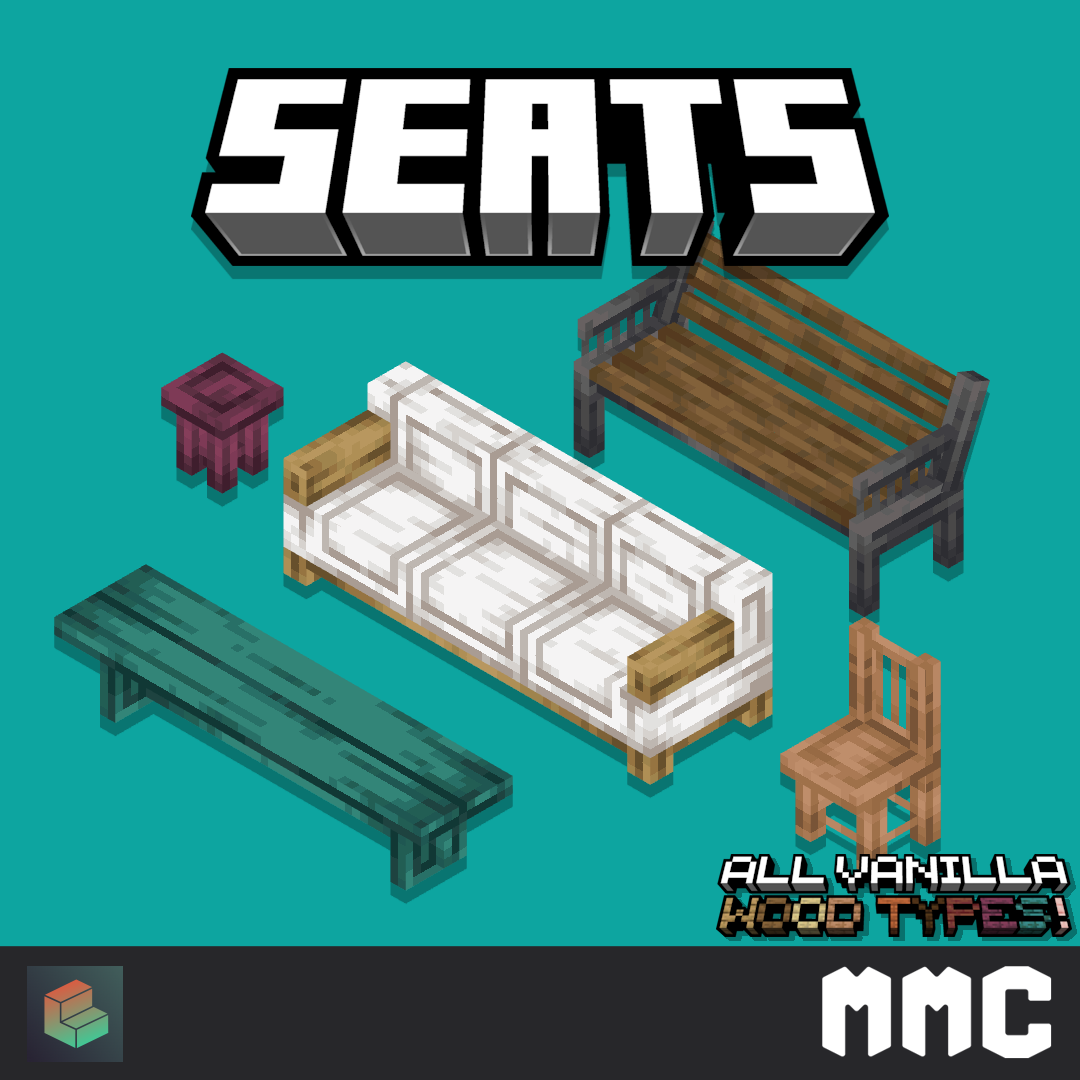
MMC's Seats
![[Forest item pack] Forest magic Item pack preview image](https://api.mcmodels.net/storage/product-images/15868/01KH2FPFB7P7AP8D50WZQFA5PC.webp)
[Forest item pack] Forest magic Item pack
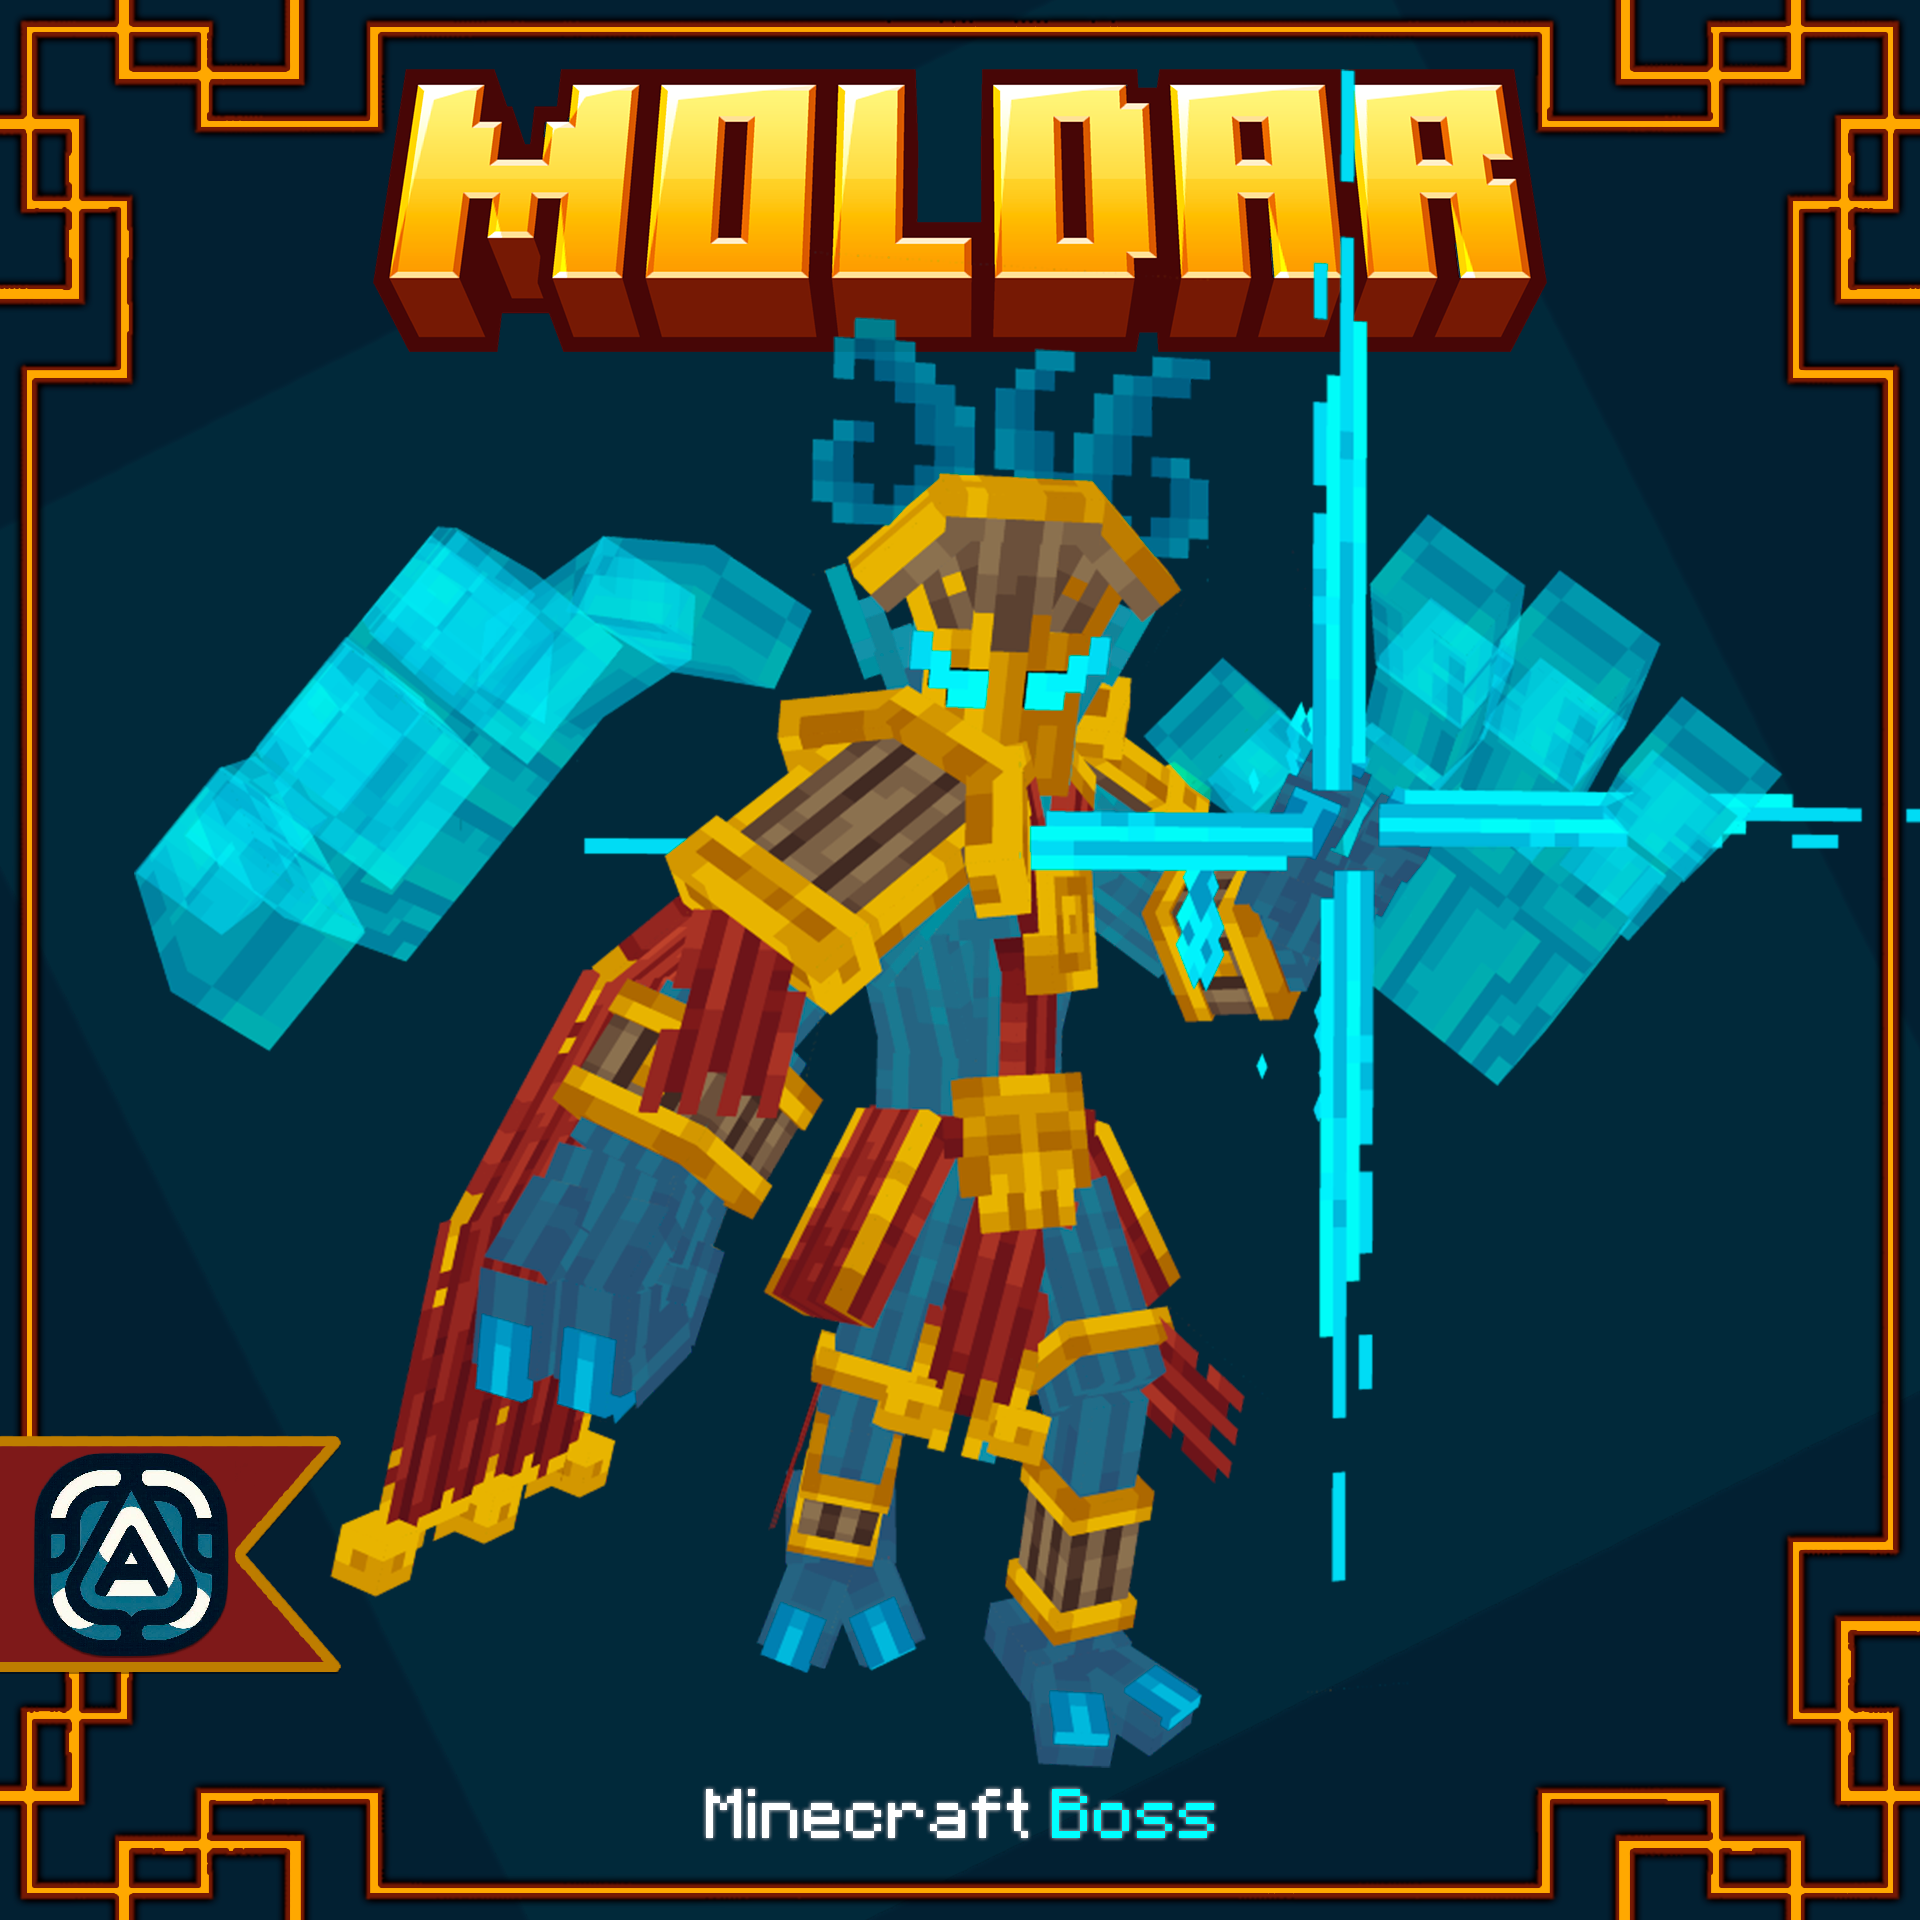
Moldar | Boss

Phoenix Cosmetics & Crossbow

Note: Depending on if you are using a generated model or not, the steps may vary.
If you want to use a generated model (simple items, usually sprites), you will need to create a new JSON file named <item_id>.json with the following information in it.
{
  "parent": "item/handheld",
  "textures": {
    "layer0": "custom/item/emerald_sword"
  }
}
If you will be using a custom item model, which is likely if you are exporting from blockbench, you will let blockbench handle the item JSON model file when you export. This is accessible via File > Export > Export Block/Item Model
Once we have our texture and model files, either generated manually or exported, we can implement them into our resource pack. Make sure to add the item's model file into the model directory and the texture file into the texture directory of your namespace.
📁resource_pack
└── 📁assets
    └── 📁minecraft
        └── 📁textures
            └── 📁custom
                └── 📑emerald_sword.png
📁resource_pack
└── 📁assets
└── 📁minecraft
└── 📁models
└── 📁custom
└── 📑emerald_sword.jsonThe first, your item's json in the models directory, and second, your item's png in the textures directory; both should be in the same name space (in our example, custom), and both files should have the exact same name.
Once you have implemented your model and texture, you will need to create a new predicate on any item of your choice; this will allow us to get the item with the specified custom model data value that shows our custom item.
Note: Base items will ALWAYS be found in /assets/minecraft/models/item/
To create a new predicate, you will need to create a new item model or add on to a preexisting one, in this example we will be adding the custom emerald sword onto a base diamond sword for existin functionality.
{
  "parent":"item/generated",
  "textures":{
    "layer0":"item/diamond_sword"
  },
  "overrides": [
        {"predicate":{"custom_model_data":1},"model":"custom/weapons/emerald_sword"}
      ]
}
custom_model_data | Which custom model data value to use for our model. |
model | The path route to your models json file, the base is always |
You have completed implementing a custom item. You can launch up minecraft and go test it for yourself. Once you're in-game you can use the command below to give yourself your custom item. Make sure to use the correct custom model data value that you specified in your base model.
/give minecraft:diamond_sword{CustomModelData:1}
We use cookies and similar technologies to ensure you get the best experience on our website.