All Products
Shop bosses, furniture, cosmetics, GUI's and more on MCModels. Browse over 2,500+ products from 100+ verified vendors.
Sort by

Lava Whale Mount
Glitch's Studio
$4.95
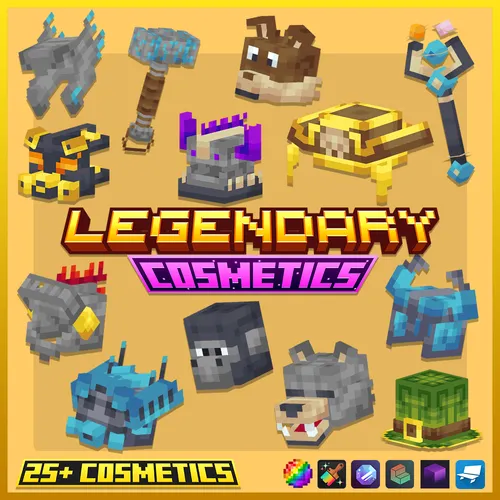
Legendary Cosmetics Vol.2
Replanus Store
$14.99
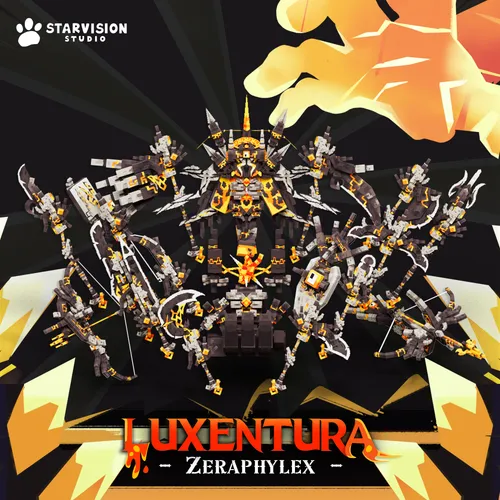
Luxentura Zeraphylex
BasModel
$25.00

FischVogel's Medievil Scene
FischVogel Store
$25.00
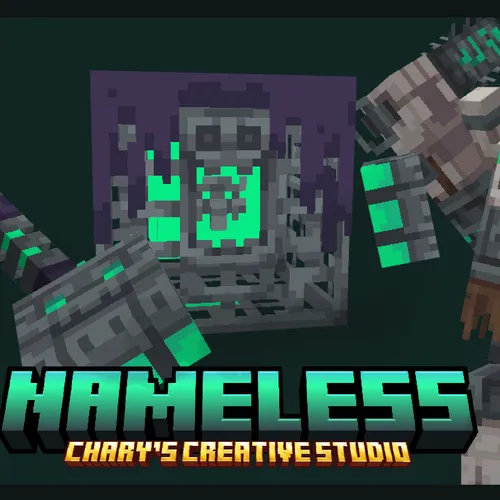
Nameless Mobs[EPIC DUNGEON]
Charys Creative Studio
$9.99 - $34.99

Summer Furniture Bundle【Dyeable】
Chinatown Lanshan 🧧
$24.99

LavaBrook - Survival Spawn
AizenessTeam
$8.90 - $11.90

Tenshi's Plushies | Overwatch - Mercy
Silent Princess Studios
Free Download!

Littleroom | MineKarts Pack
Littleroom
$45.00

Skeleton Boss
Amonde
$14.99
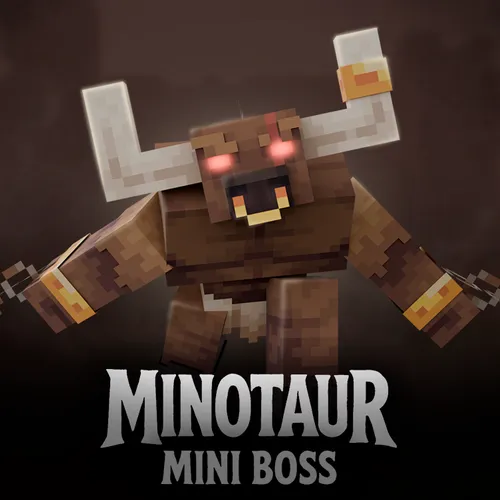
Minotaur | Mini Boss
Wardenful Studio
$24.99

Ice-Cream Truck Mini Pack【Dyeable】
Chinatown Lanshan 🧧
$6.99
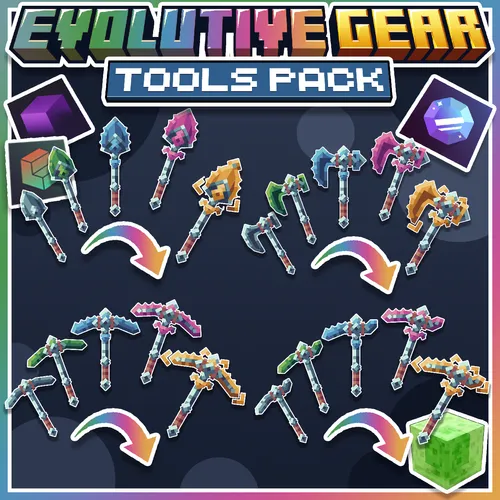
Evolutive Gear: Tools pack
Slime Studio
$15.00

PvP Arenas Pack Vol.01
MC-Shop
$5.99

Terrain Pack Vol.01
MC-Shop
$5.99
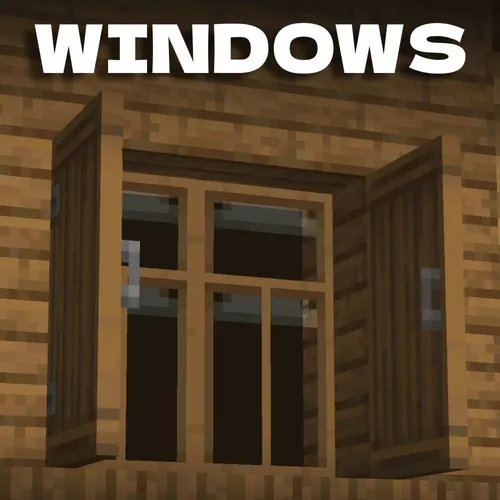
FischVogel's Wooden Window's
FischVogel Store
$6.60

FischVogel's Road's
FischVogel Store
$7.80
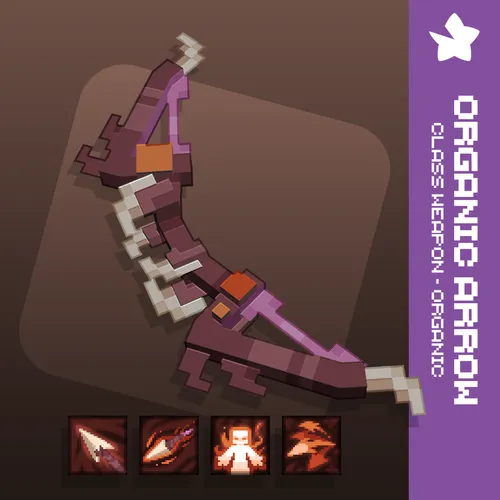
Organic Arrow | Class Weapon - Organic Vol. 1
Purple Star
$3.00 - $20.00
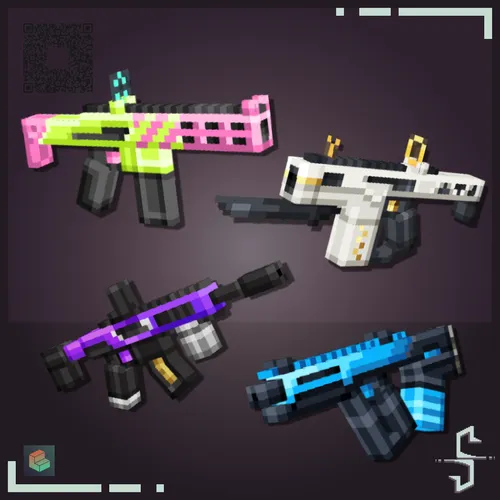
Cyber Arsenal
Skulpt
$14.99

Vanilla Mobs Health Bars
Elpe Studio
$15.00
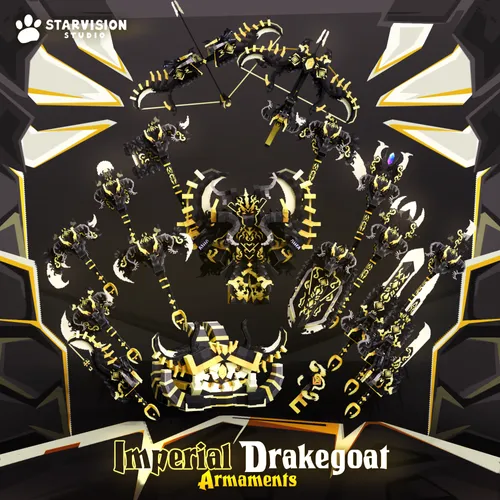
Imperial Drakegoat Armaments
BasModel
$25.00
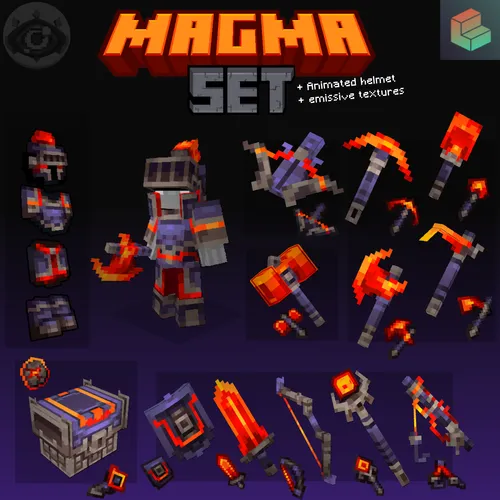
Magma Set
Fritz Warehouse
$10.00 - $16.00

RPG Class Awakened | Warrior
SamusDev
$24.99
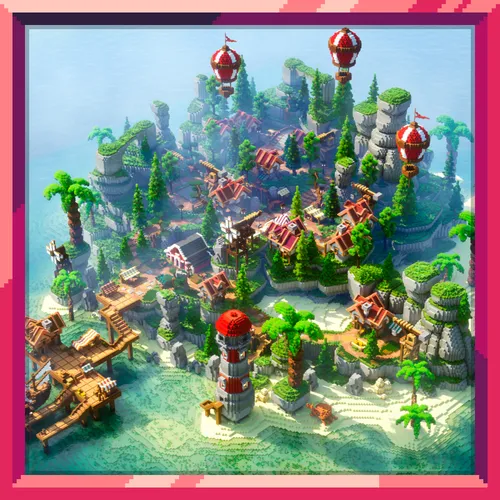
CoconutBay - Survival Spawn
AizenessTeam
$7.90 - $9.90
Tutorials
Copyright MCModels © 2025.
We use cookies and similar technologies to ensure you get the best experience on our website.