View Animated Weapons Set | Greek Deities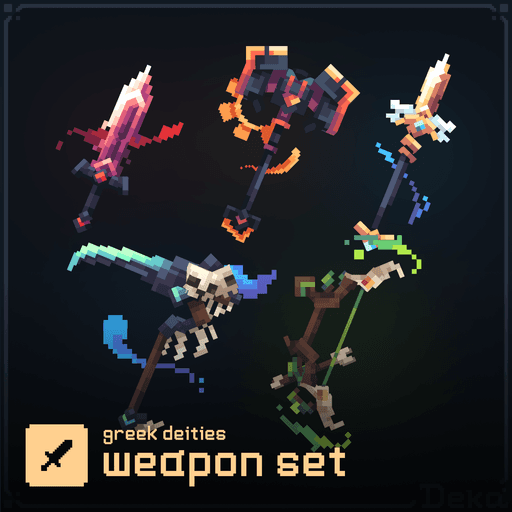


NEW!
Animated Weapons Set | Greek Deities
No Rating
Price is: $7.99.
Animated Weapons Set | Greek Deities
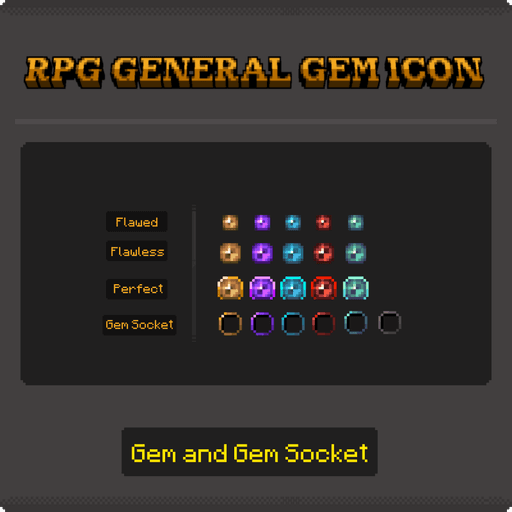
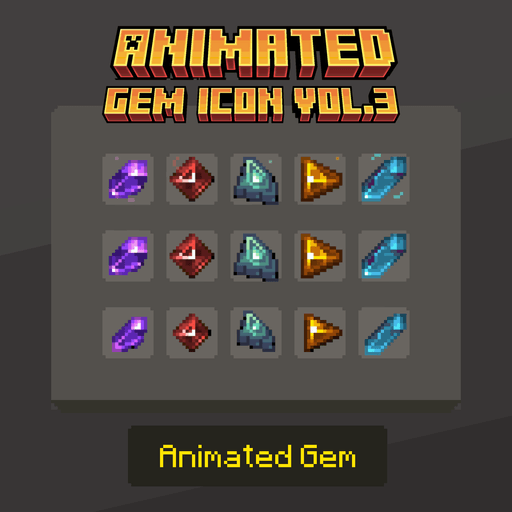
General Equipment GemSocket Icons Vol.3
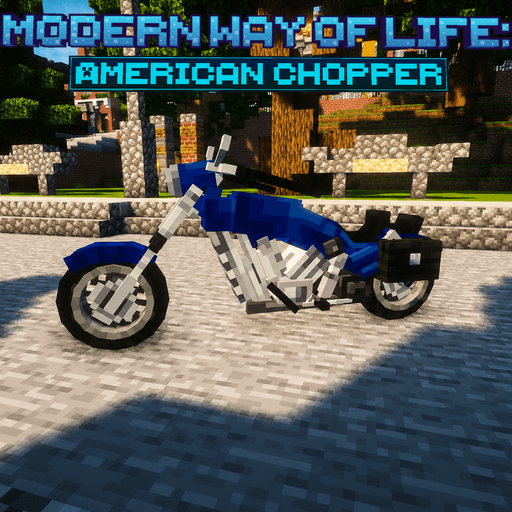
Modern way of life: Chopper Motorcycle
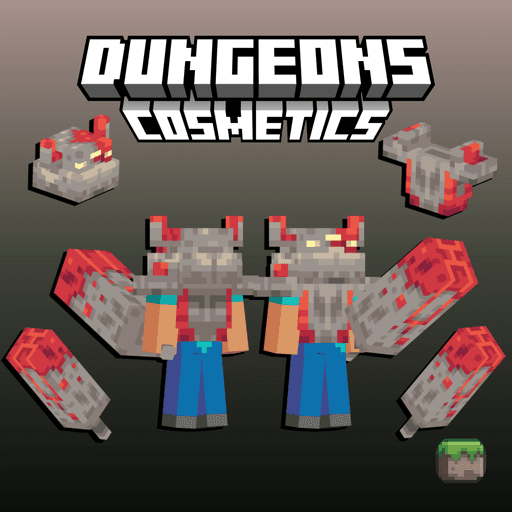
Redstone Monstrosity Set | Dungeons Cosmetics

Dimorphodon Dinosaur - Cute Pets
We use cookies and similar technologies to ensure you get the best experience on our website.


![Nog's Figures [Vol 9] preview image](/_ipx/q_72&s_512x512/https://api.mcmodels.net/storage/product-images/16719/01KVRECYW12KDDQAM7ZYB19KVF.png)